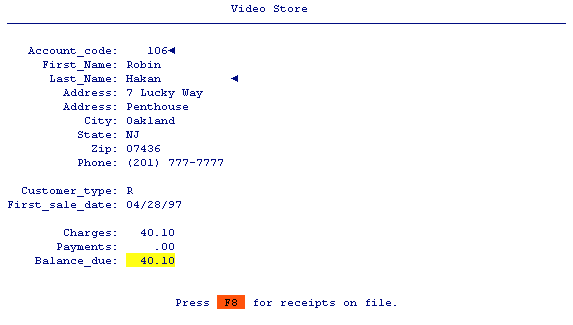
 Press F8
to see the receipts on file for this customer.
Try it all out now! But before you do, go to the filePro Directory (? on the main menu) and delete the records in the receipts file "vidrec". This may leave some unsupported charges, payments and balances in the customer file, but that's okay for our purposes.
Once you have cleared the "vidrec" file. Use the menu "video" to enter the virtual "work" file.
Load the following customer Account#. Use either method (Account# or Name).
You should see the following.
 Press F8
to see the receipts on file for this customer.
Since there are no receipts on file (we just cleared them all), you should see the following.
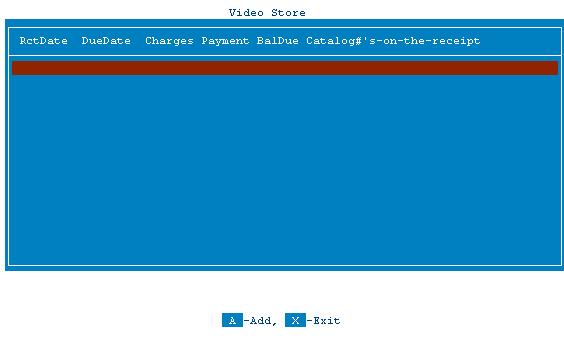 Press A
to add a new receipt.
You will see the following.
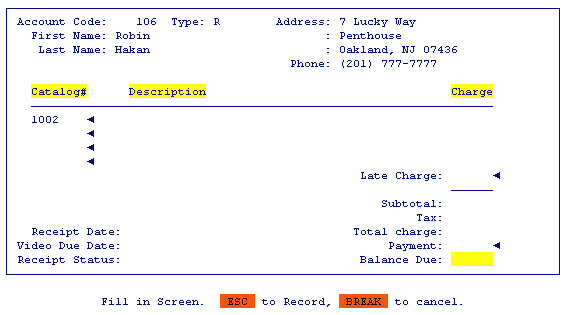
Enter the Catalog#'s shown. You should see the descriptions and charges popping in appropriately.
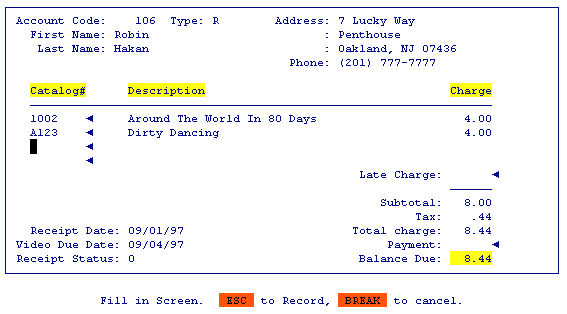
Now try finding a Catalog item by the first few letters of its description. Enter an f on line 3 .
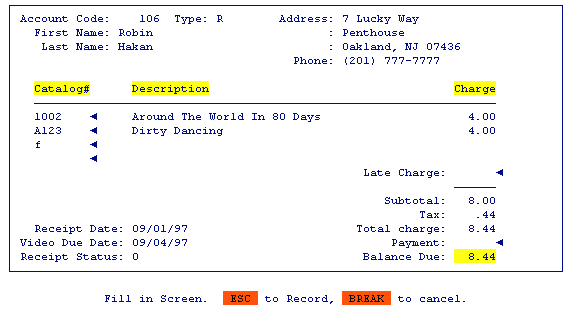
You should see a browse of the Catalog file. The highlighted bar will be on the first record starting with f.
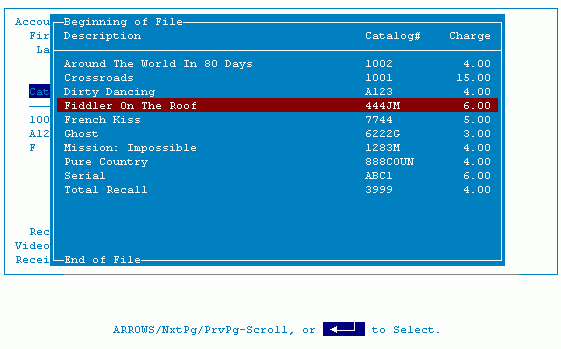
Move the highlighted bar down to the next item, which is what you were looking for and press ENTER . You should see the following pop in.
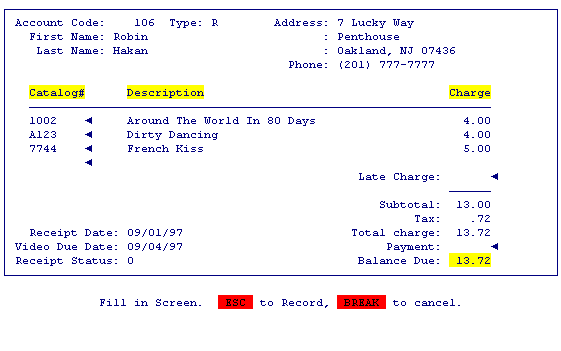 Press ESC
to save your work.
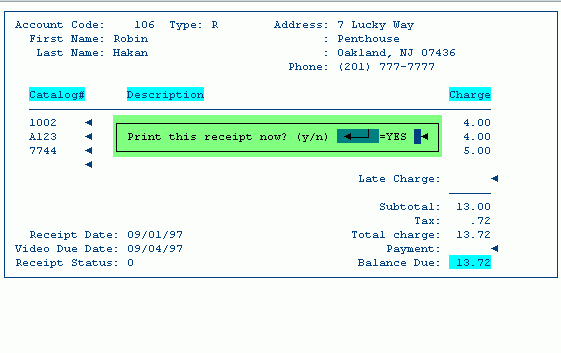
You will be prompted as to whether you want to print the receipt or not. The default is Yes. (Just pressing ENTER will print the receipt.)
 You will be returned to the receipts browse window for this customer. You should see the data for this receipt across the line.
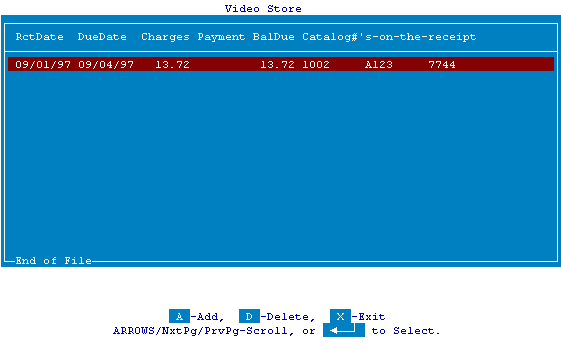 Press X
to exit this screen.
You are returned to the main customer record. The newly added receipt was added to the Charges, Payments and Balance_Due fields as it should have been.
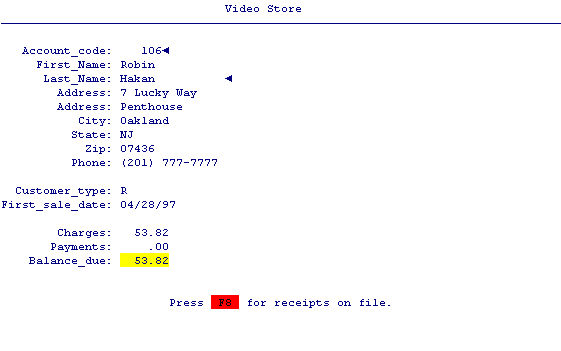 Press F8
again to go back to the receipts browse for this customer. Let's try modifying a receipt.
Choose the receipt from the browse screen by pressing ENTER .
The receipt will appear in full screen view. Modify it, by removing the 2nd line item. (space over it).
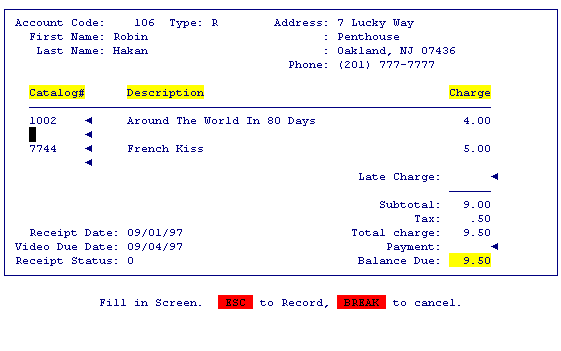 When done,
press ESC
to save your work.
You will be brought back to the receipts browse. The receipt will appear updated.
Press X to return to the customer screen.
You will see that the customer record has been updated as to the modification you just made. The system is working perfectly.
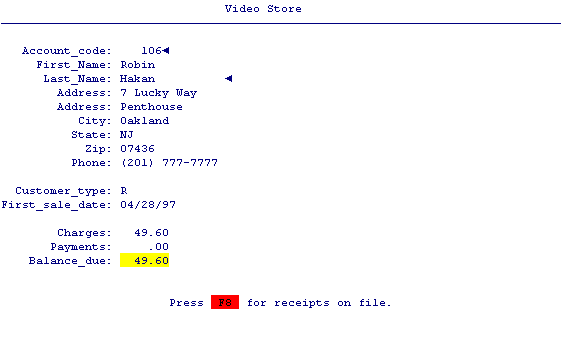 Press ESC
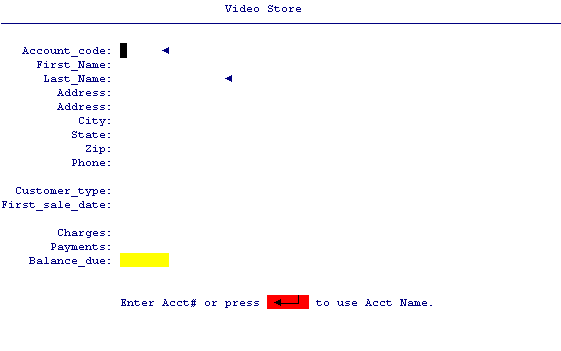
to clear this customer and obtain a blank starting screen. (This is where the program simply deleted the virtual record you are standing on, and gave it right back to you again.)
Your screen should look like this.
The last feature we need to try is the "delete a whole receipt" routine. To test this we need a few receipts on file for a customer. Go add 3 quick receipts for Account# 106. Choose any Catalog item(s) you wish. Don't waste time on this. We are just going to delete them!
Once you have added the receipts, choose one of them from the receipts browse window by putting your highlighted bar on the want deleted and press D .
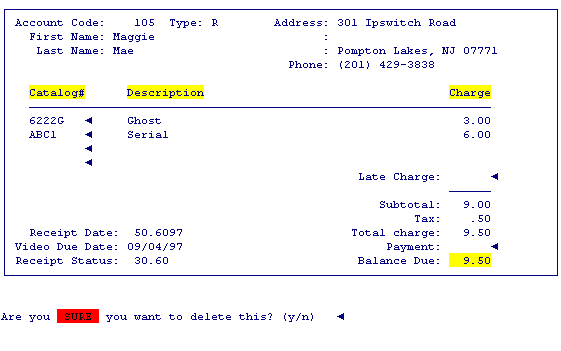
The receipt will be brought to the screen in full screen view and you will be prompted for acknowledgment.
Your screen should look something like this.
 Enter a Y
to delete the receipt.
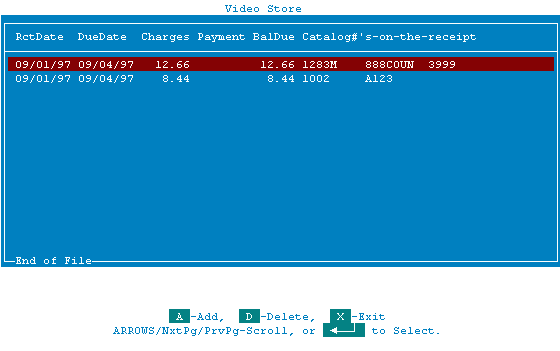
When you are returned to the receipts browse window, the one you deleted will no longer be there.
Your screen should look something like this.
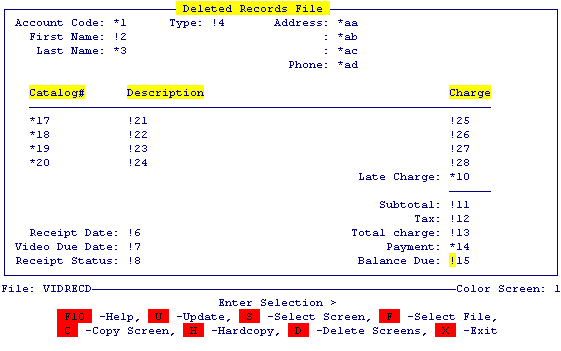
You will remember from the code you entered that we are not actually deleting this receipt. We are copying it first to a "safe" file called "vidrecd" and then deleting it from the real receipts file. The user will want to view these deleted records from time to time, so to finish this application, this file should be put on the user menu "video".
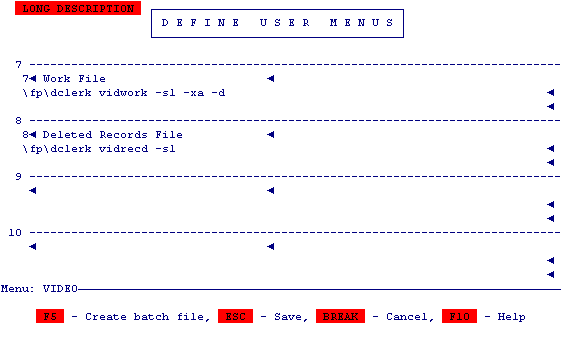
So that there will be a screen in "vidrecd" that resembles the receipts screen in "vidwork" or "vidrec", copy "vidrec/screen.1" to "vidrecd/screen.1". Use the (C)opy function in Design Screens to do this.
 This application is obviously just a shell. There are many places where it can be tricked, broken, fooled, etc. However, it is still a good starting point for designing a real application. Remember, though, it was only designed to demonstrate various filePro functions and processing.