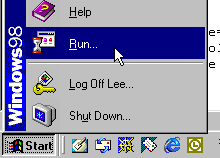
Insert the fileProGI Runtime CD into your CD-ROM Drive and Click on the Start Icon at the lower left hand corner of your screen:

and then Select Run:
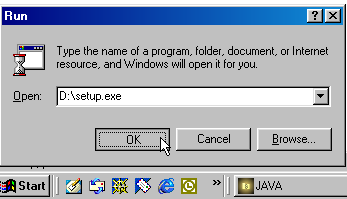
When the Run dialog box appears type in X:\setup.exe where X is the drive letter of your CD-ROM Drive [example shows the D Drive] and then click on the OK button:
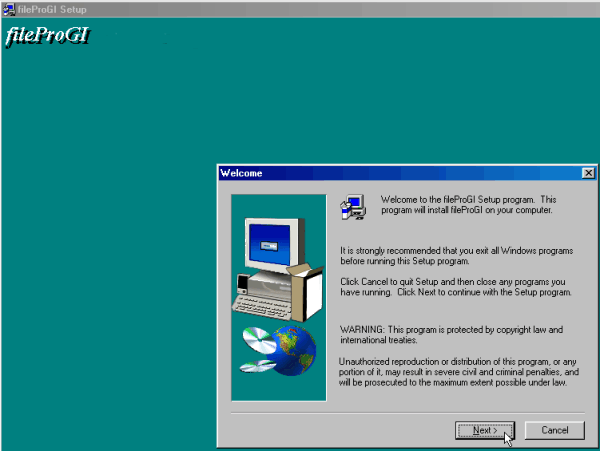
The initial fileProGI Runtime installation screen should appear. Click on Next to continue:
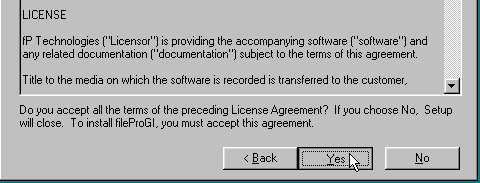
Read and acknowledge the license agreement and click on the Yes button if you agree to the terms:
Select the folder you want to install the fileProGI folder under. You can hit the Browse button to specify a different folder than the default. When you have selected the folder you want the Next Button:

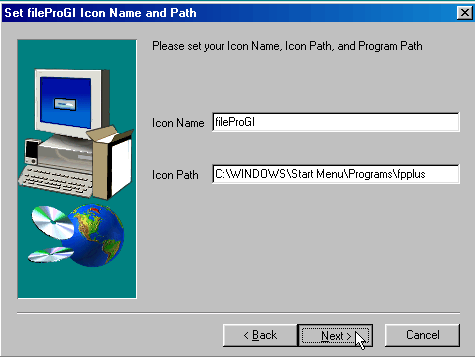
Select the icon label you want and the location to store the icon and click on the Next button to continue:
Enter the IP Address and Server Port Number to use and then click on the Next button to continue.
Note: If you are upgrading, the previous Server IP Address and Server Port Number will be provided.

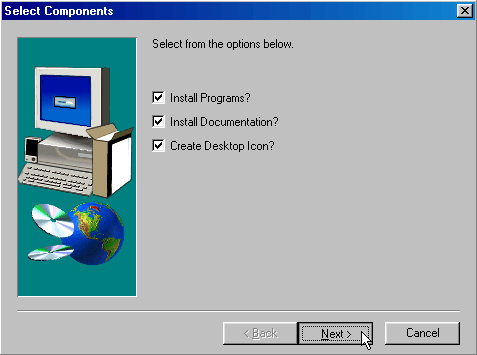
Select the components you want to install and then click on the Next button to continue:
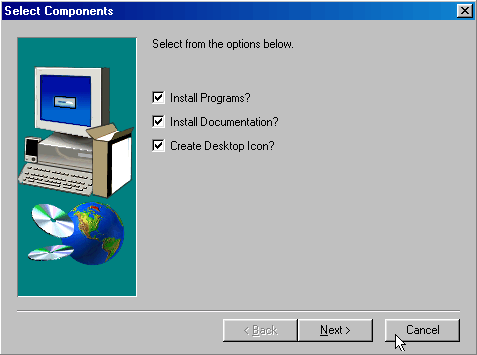
If for any reason you want to cancel the installation at this point, click on the Cancel button:
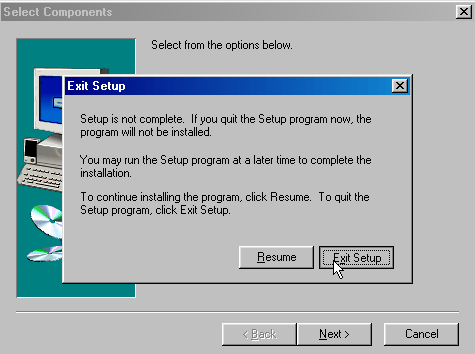
You will be asked to acknowledge your desire to quit the nstallation process:
If you elected to continue with the installation, the installation will proceed and an installation complete screen will appear.
Note: If you are upgrading fileProGI, you will be prompted before overwriting some files. If you are unsure as to whether to overwrite the files, the safest method is answer "No" to these prompts.